Yesterday, my Cubieboard A10 board arrived, Yeay! I got it from Ebay for US$ 58. Long story short, I now have the most powerful remote control for 10 Watts.
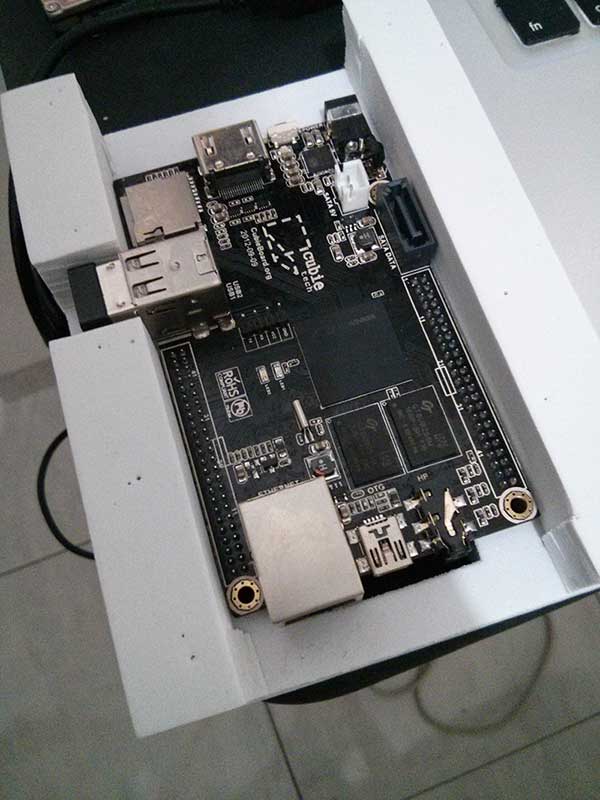
To top it up, I created a DIY case from the foam provided on the package.
Installing Lubuntu into NAND
I don’t have a micro-SD card handy right now so I scoured the Internet on how get Linux running in it without a micro-SD card. Turns out, I can install easily into the NAND provided.
Warnings
- Things can get messy if you screw up your NAND, it is the only things separating you from a 58 bucks brick. ALWAYS use quality USB OTG cable.
- Please use a quality USB Power Adapter. If you are planning to use the SATA Port or wireless keyboard/mouse, make sure you are using a 5V/2A rated adapters. Otherwise, you may encounter weird behaviors.
- I’m using a Mac OS X 10.9.1 so the instructions below applies for it
Pre Requisites
Now that you are warned, here are the tools needed:
Here are some notes for the Lubuntu I’m installing taken from here:
- While Ethernet cable is not plugged in, It will take a long time to boot because of waiting DHCP timeout.
- First time boot will re-size the partitions automatically.
- With the clean version, you may apt-get install mysql-server failed, because of the permission issue. To solve it, just add mysql user to inet group.
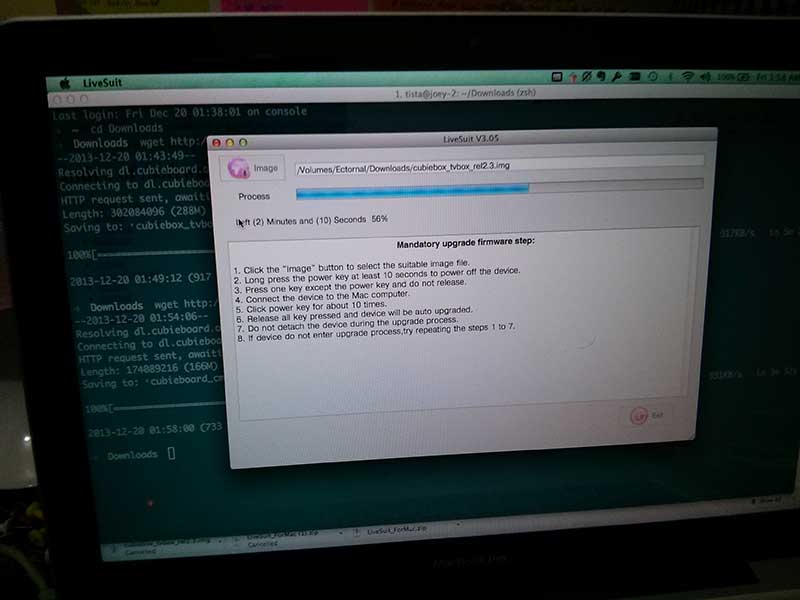
Flashing to NAND
Now this is the easy part should the above are all satisfied.
- Open up Livesuit
- Click on the Image icon on the top left hand corner
- Browse to the Lubuntu image you’ve downloaded
- Plug the USB OTG cable to your Mac’s USB Port
- On your Cubieboard, find the mini-USB port and under it there will be a small button labeled FEL.
- Press the button, do not release untill Livesuit reacts and connect the mini-USB end to the Cubieboard
- Livesuit should start to flash after asking you if you want to format the partitions or not
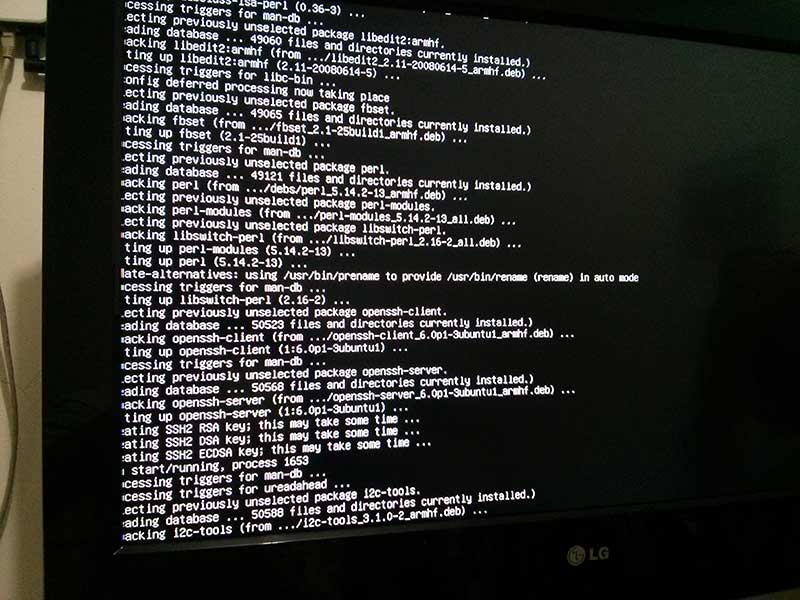
When the flashing is done, unplug the OSB OTG port from either the devices and now you have a working Lubuntu install. The first time you boot the OS, it will take longer than usual. The first boot will actually resize the NAND partition automatically and install additional DEBs.
Logging In First Time
You know what, I only have a wireless mouse attached to the Cubieboard. Didn’t have any spare keyboard so it became tricky to login into the GUI. I opened up my router’s web frontend and looked for the IP of the Cubieboard and got it. Here are some defaults for the accounts:
- linaro / linaro
- root / toor
I SSH’ed into the box, changed the default passwords and I’m in. There were some packages I would like to be there and here are the steps I took as root:
$ apt-get update
$ apt-get install -y vim build-essential screen aria2
For added security, I created my own user and added the user to the admin group. Here are some added steps:
My Macbook
$ cat ~/.ssh/id_rsa.pub # Copy the output to clipboard
Cubieboard Side
$ adduser [new_user]
$ passwd [new_user]
$ ssh-keygen -t rsa
$ vim ~/.ssh/authorized_keys # Paste into here
$ chmod 600 authorized_keys
On Board Keyboard
Lubuntu comes featured with an On Board Keyboard but not available by default. Here are some steps to install it:
$ apt-get install -y onboard
Now when the keyboard is installed, the keyboard is always available through the menus.
Remote Desktop with VNC
Since I didn’t have a keyboard to play with, I thought why not meddle to get VNC working. I tried Tight VNC Server, x11vnc and vino. The first option worked perfectly.
$ apt-get install -y tightvncserver lxde-common
Now I want my user to have an X session so I did these:
$ su [my_user] -
$ vim .vnc/xstartup
Insert the following lines:
#!/bin/sh
#export XKL_XMODMAP_DISABLE=1
#exec ck-launch-session startlxde &      #for an lxde session
startlubuntu &
vncconfig -nowin &
Back to the prompt:
$ chmod +x ~/.vnc/xstartup
$ vncpasswd # Enter your own Password
$ vncserver -geometry 1200x600 :1
You should see some initialization messages. Login to the VNC session using your VNC client. I choose Chicken of The VNC.
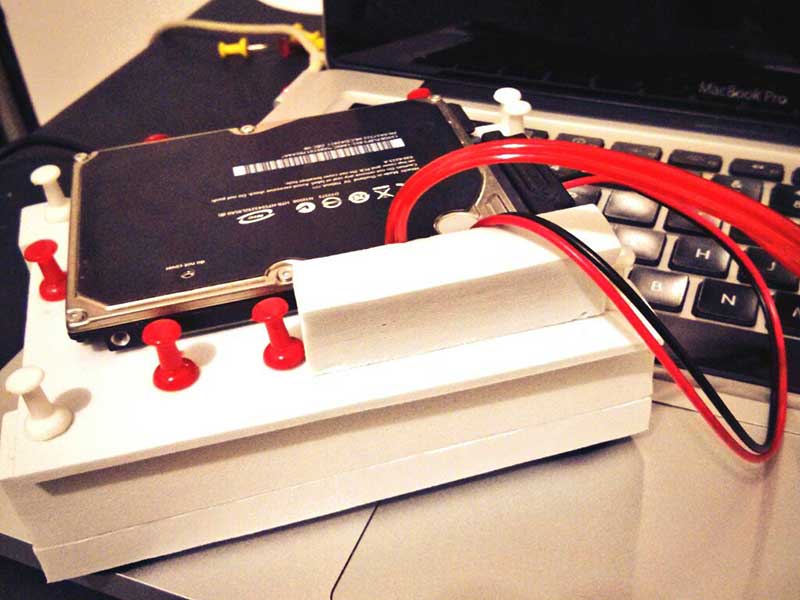
Mounting a SATA Harddrive
I have a spare 120 Gigs SATA Drive so I plugged in into the Cubieboard. Be default, it is not mounted at boot time. Let’s mount it and make it persistent through boots.
$ mkdir -p /media/ext
$ mkfs -t ext4 /dev/sda1 # Format to ext4
$ mount /dev/sda1 /media/ext
Now try a df -h and it should output something like below.
Filesystem      Size  Used Avail Use% Mounted on
/dev/nandc      993M  517M  433M  55% /
tmpfs           405M   60K  405M   1% /tmp
/dev/nandd      993M  402M  548M  43% /usr/lib
/dev/nande      992M  477M  472M  51% /usr/share
/dev/nandf      496M  285M  187M  61% /lib
none             81M  552K   81M   1% /run
none            5.0M     0  5.0M   0% /run/lock
none            405M     0  405M   0% /run/shm
none            100M   28K  100M   1% /run/user
/dev/sda1       111G  6.1G   99G   6% /media/ext
Let’s make it persistent now.
$ vim /etc/fstab
Add the below line.
/dev/sda1 /media/ext ext4 defaults 0 2
Swap File
The Lubuntu is installed without a swapfile, you can confirm this with:
swapon -s
There will be nothing there. I added a swapfile for my experiment, I plan on installing various apps and memory shortage could be a problem. I’m putting the swapfile in my SATA harddrive.
$ cd /media/ext
$ dd if=/dev/zero of=/media/ext/swapfile bs=1024 count=2048k # This is for 2 gigs swapfile
$ mkswap swapfile
$ swapon swapfile
Now check if the swapfile is mounted with swapon -s and it should output something like below.
Note: I’m creating a 4 gigs swapfile
Filename				Type		Size	Used	Priority
/media/ext/swapfile                     file		4194300	164	-1
Let’s make this persistent like so by adding the lines below to /etc/fstab.
/media/ext/swapfile none swap sw 0 0
Samba for Cross Platform File Sharing
Now that I have a SATA harddrive running, I want the harddrive to be shared. It’s trivial and here are the steps.
$ apt-get install -y samba
Next up, let’s open up /etc/samba/smb.conf and add the following lines.
[ext120gigs]
   comment = Files here please
   path = /media/ext
   guest ok = yes
   browseable = yes
   create mask = 0775
   directory mask = 0775
   writeable = yes
Now restart samba.
$ restart smbd
You can make authentication work with Samba but that’s topic for another time. I want the shared drive to be available for anyone and for any gadgets without the fuss.
References
- Lubuntu Downloads - Do not flash the SD Card images, it won’t work on Livesuit anyways
- Android Downloads - The 2.3 firmware I thinks is the better one although I feel the Android firmwares is not as I would expect.
- CyanogenMod Downloads - I don’t recommend installing this, too bland.
- Tutorials for Cubieboard 1 - A10 - Highly recommended to go here first.
- Building your own Android TV Image for Cubieboard
- Building Android Jellybean for Cubieboard
- How To Add Swap on Ubuntu 12.04
- Installing a New Harddrive
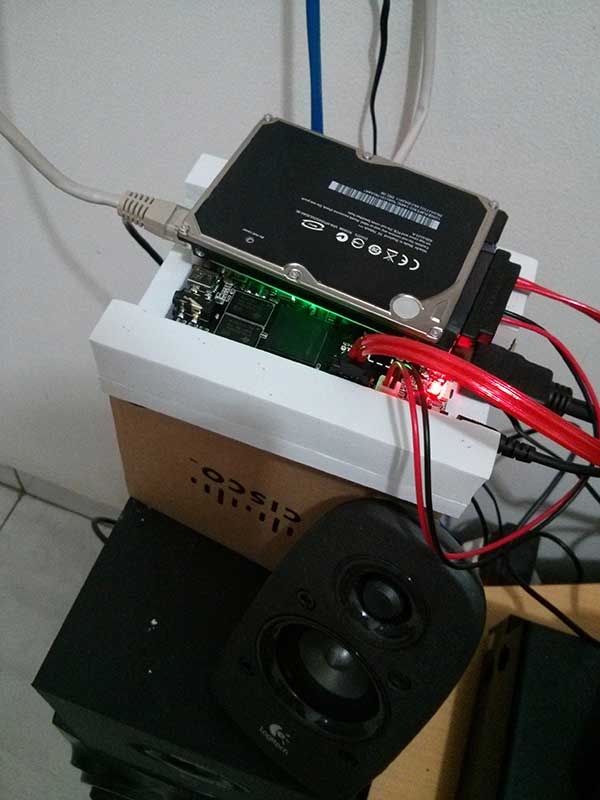
First Impressions
So far I’ve managed to flash a Lubuntu 12.10 build into my Cubieboard’s NAND and configured the Lubuntu to fit my needs without a physical keyboard handy. I can also VNC into the box and have a SATA harddrive shared using Samba.
The performance of the Cubieboard itself is not great but sufficient. My next blog post will cover more about performance and stability. Until then.