I have never in my life built an AMD CPU based box, never. BUT, AMD’s rise is well on its way to dethrone Intel off of the performance perch. Over the years, I usually upgrade my machine every 3 years whether it’s a laptop or a desktop. I’ve had my Intel i7 8700K for 2 years now, I’ve made a lot of work with it, it’s great.
The blow for me with an Intel box was that Intel decided to abandon the LGA1151 socket for its newest CPU’s. Not to mention Intel’s BIOS limit preventing 6th-7th gen CPU’s not being able to run on 8th-9th gen chipsets vice versa. While AMD was improving and iterating at a phenomenal pace. Other than its impressive 7nm process which is a leap ahead of Intel, Ryzen have more cores/threads than Intel, period.
AMD’s “fuck you Intel” move launching a 64 core Threadripper is impressive. It shows to the world they’re on a different level. I’m pretty sure the market for that particular CPU is slim but AMD did it anyway because they can.
Pre Ryzen
My Youtube recommendations is full of Ryzen contents. The number of benchmarks done on it were great. I would never settle for less than a Ryzen 7, that leaves me with either 3700X or 3800X. The glaring difference being base/boost clocks and TDP.
I watched a lot of videos about the 2 variants, GamerNexus did a thorough benchmark pitting both of them head to thead.
The price difference between the 2 here in Indonesia is not too steep but GamerNexus influenced my decision very much. The difference can be used for something else like buying an AMD mounting kit for my Noctua NH-D15.
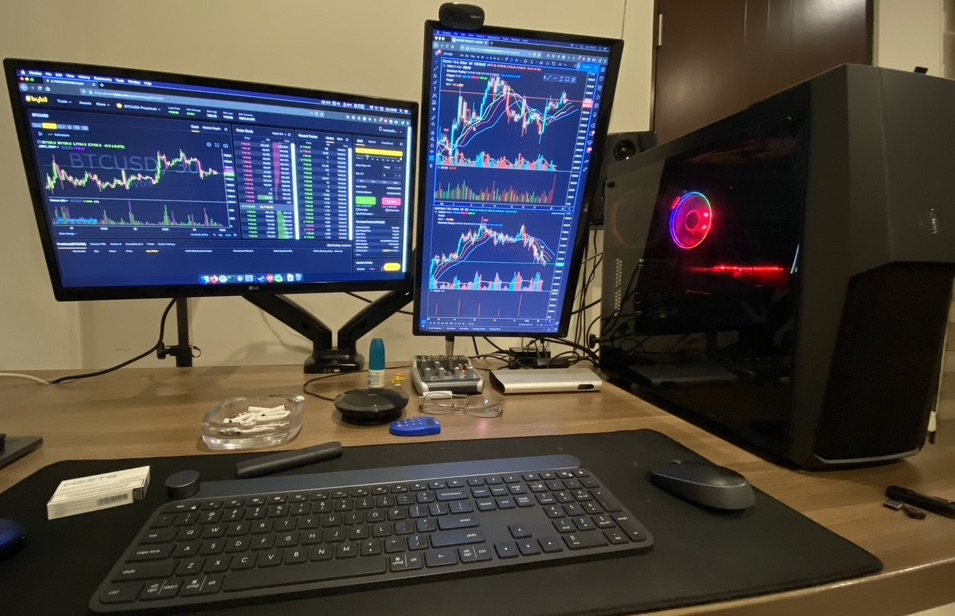
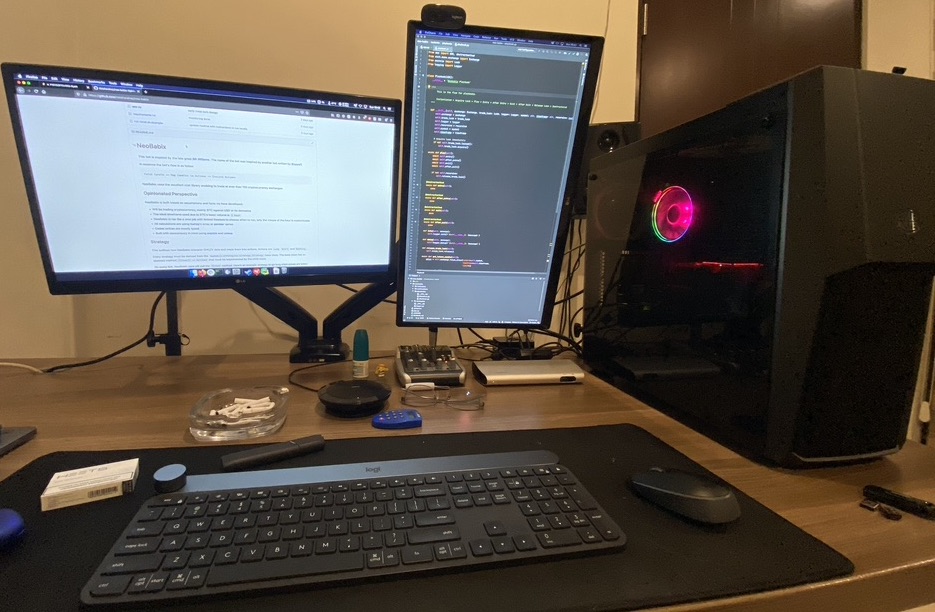
For my workflow as a software engineer who trades, going for Ryzen 9 is not worth my money. Although it brings me more cores but I already have an Unraid box delegated to do things that is disruptive to my focus. More about Unraid later.
Pre Installation
I’ve built a hackintosh ever since the term was coined. Started out with a Centrino Laptop back in mid 2000’s. To say it was difficult is an understatement. Going the AMD route had always a bad taste for me, it’s unsupported by Apple to build and maintain a Hackintosh, why complicate myself with AMD?
As it turns out, it’s easier to build an AMD Hackintosh when you know where to look for guides. There are a few guides out there but I find Dortania’s OpenCore Desktop Guide the more robust option. I tried the other guides but I understood the process better with this guide.
This blog post won’t serve as a complete guide, I’ll talk more about the experience and my opinions rather than the details.
Specs
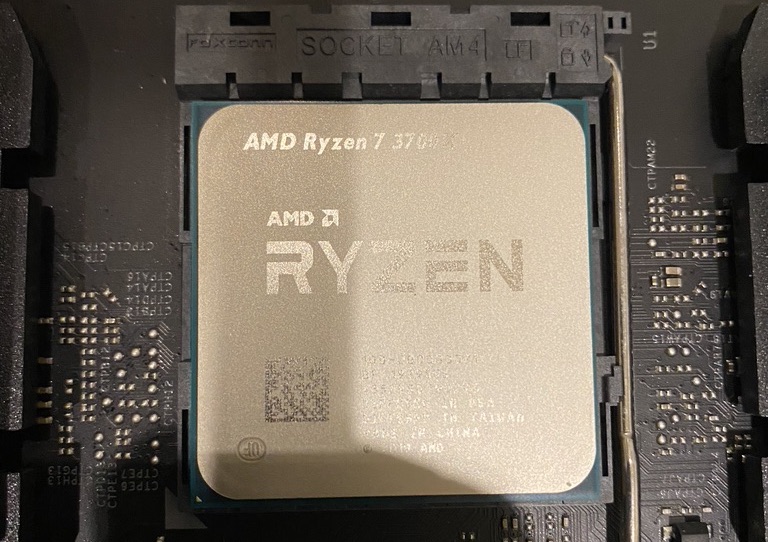
This Ryzen Hackintosh specs are:
- AMD Ryzen 7 3700X
- 2x 16GB Kingston HyperX Fury
- AsRock X570 Taichi
- Asus ROG Strix RX580 8GB
- Gigabyte Alpine Ridge Thunderbolt AIC
- Samsung 960 EVO NVMe - Hackintosh
- Adata SX8200 Pro NVMe - Windows
- HP NC360T PCI-Express PRO/1000 NIC
- Fenvi FV-T919 Wifi/Bluetooth
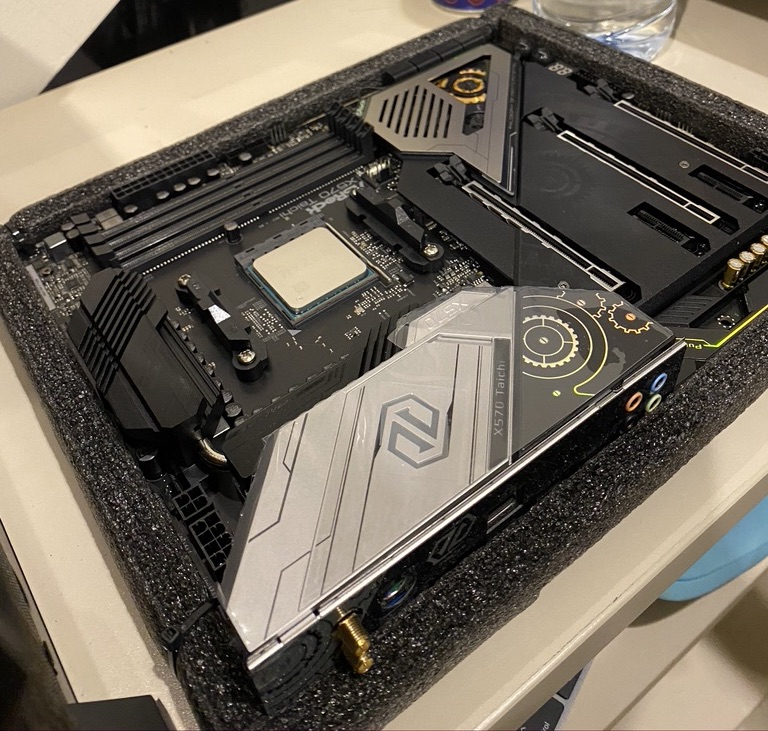

The specs above is essentially my former Intel Hackintosh without the Intel CPU and mobo. I was also happy the AsRock X570 Taichi mobo has a Thunderbolt AIC header, I can use my Thunderbolt 3 dock.
OpenCore
Hackintosh builds were easier to build ever since vanilla installation was made possible by Clover. By vanilla it means there were no changes to the kernel in a permanent way. At boot time, necessary patches and kexts (drivers) are loaded by the bootloader leaving the installation untouched.
I’m not an expert at all but it’s my understanding that with Clover because it was not built for Hackintosh-ing, there were necessary workarounds to make things happen. It’s more like hacks on top of hacks.
Along came OpenCore, this bootloader was built to be extensible. That said, its rather empty for its UI compared to Clover but then this is one of those thing where function over form is the winner.
OpenCore has adopted many of necessaries to boot a Hackintosh into what it called AppleSupportPkg. I think sanitizing different components out of the core is always a best practice. It will confuse noobs but then the guide provided is excellent.
Post Installation
There’s not much to be said here. OpenCore Desktop Guide outlines what you need to do to boot directly from your internal drive. I’m just gonna do pictures here.
Afterthoughts
First of all I hate colorful RGB lighting. I’m still using the AMD Wraith stock cooler because I lost my Corsair watercooler standoff for AM4 sockets. I’m getting myself a Corsair H60 watercooler for my GPU, the standoff for AM4 sockets is compatible with my H100 watercooler.
Decided to watercool my GPU using NZXT Kraken G12 watercooler fitting. When I touch the glass panel, the GPU area is warm. That’s not playing games, the GPU is in idle.
Swapping from Intel to AMD made my Intel CPU and motherboard to be installed to my Unraid box. That box now has a 6 core 12 threads CPU, not bad at all. I plan to run trading bots from it, multiple instances so I’m happy a Core i7 8700K is handling the processing instead of a Core i3 6100.
Next up is for the Core i3 6100 is I’m going to build a pfsense router out of it. Going to be using the Cooler Master and Z270 mini-ITX with a 4 port gigabit NIC. Really hope the fiber optic ONT can be put into bridge mode and let the pfsense router do all the heavy lifting.
I guess I’m gonna keep myself busy with the quarantine these days. My definition of fun is learning something new, there’s a lot of those in the coming days. Cheers!