It’s that time again when I learned about something that triggers my curiousity and make it useful. This time that thing answers you back and that’s an LLM or a Large Language Model. I was late to the AI hype because I haven’t found a specific use case that is interesting for me. Now I have, it’s called Broto.
How It All Started
At work, we have a need to deploy an LLM to automate some of the stuffs we’re cooking with. That was months ago and ended up with a no go because it’s too easy to fool the LLM. Forgot about it and just recently started working on it again. To my surprise, it worked now, fool proof.
During the research I tried many different LLMs like gpt-4-turbo, the recently released gpt-4o, llama3, qwen, llava, etc.
I was late in learning about AI, specifically LLMs and multimodal. Now i see the whys though, for a very specific use applicable to a niche, AI is opening up opportunities.
— Batista Harahap (@tista) May 15, 2024
To get my feet wet, installed Linux (finally got it working) on my gaming machine with a 3090.…
Wiped Windows and installed Ubuntu into my gaming PC. Am I going to regret this? I have no gaming PC now. But curiousity got the best of me, I need to learn.
Jeremia’s Homeworks
My son’s school is quite heavy with homeworks. The teachers made it a habit for the children to ask questions, can you imagine how many times children ask questions at school? I salute the teachers, their patience did not go unnoticed. But parents lack that kind of restraint, especially when they’re doing chores or even working at home.
Today I asked ChatGPT to help my son solve his homework. He'll always think I have an answer for everything even more 😂
— Batista Harahap (@tista) May 10, 2024
A question came into mind.
How do I let Jeremia keep asking questions so that his science mind grow but parents can still watch netflix and chill?
I already had the Ubuntu running, it’s a matter of connecting the dots I say to myself.
The Good Stuffs
Here’s the hardware I use to execute this.
- AMD Ryzen 7800x3D - 8 Core/16 thread
- 32GB DDR5 6000MHz RAM
- MSI X670E Carbon Wifi Mobo
- 1x 1TB Lexar NVMe
- 1x 1TB Crucial NVMe
- 1x 2TB Corsair NVMe
- 1x 2TB Kingston NVMe
- NZXT X73 AIO CPU Watercooler
- EVGA Nvidia RTX 3090 GPU
I know, the storage is overkill but this was a gaming PC, fast storage is a need. On the bright side, I can still reinstall Windows later on one of the NVMe.
Ubuntu
Your mileage may vary with this but I recommend installing LTS versions. I have no need for a desktop environment so I only installed Ubuntu Server onto it. When you get Ubuntu installed, next is to install drivers.
Nvidia GPU Drivers
| |
At the time of installation, 545 was the one available so I did:
| |
Nvdia CUDA Drivers
| |
When you’re back, check if all is good.
| |
This is how you see if your GPU is being utilized. Now, to keep monitoring this whenever you need to, do this:
| |
The command will refresh every 500ms so you don’t have to.
Ollama
If you don’t know about this, Ollama makes it simple to interact with LLMs in macOS and Linux. You skip all the compiling and configurations, you fast forward to using the LLMs.
| |
Now that Ollama is installed, by default it will serve at 127.0.0.1 which is not what I want. I want it to be accessible from the LAN. So i went ahead to do this.
| |
Add this:
| |
Restart Ollama:
| |
Downloading Models
These are the models I was interested with.
| |
You can find a list of all the models Ollama’s community has uploaded here:
If you want to use your own models, you can!
https://github.com/ollama/ollama/blob/main/docs/modelfile.md
OpenWebUI
You can install this on another machine but for my use case, I’m installing this within the same machine as a docker container so I don’t have to pollute the machine with dependencies.
Docker
Skip if you have it already on your machine.
| |
Check if docker is up and running:
| |
Let’s make it so that you don’t have to sudo everytime you want to run docker.
| |
Now logout and login again and try:
| |
Running OpenWebUI
Let’s run OpenWebUI as a docker container now.
| |
There’s a volume created called open-webui to store OpenWebUI’s state. You do this to see where that volume is on your machine:
| |
For me it’s created at /var/lib/docker/volumes/open-webui/_data.
OpenWebUI is not running at port 3000 on the machine served at 0.0.0.0 which means all IPs. Next we set it up so that we can access Ollama.
Ollama + OpenWebUI
I have my machine set up with a static IP at 10.7.7.10 so to access OpenWebUI, in my browser I’m going to http://10.7.7.10:3000.
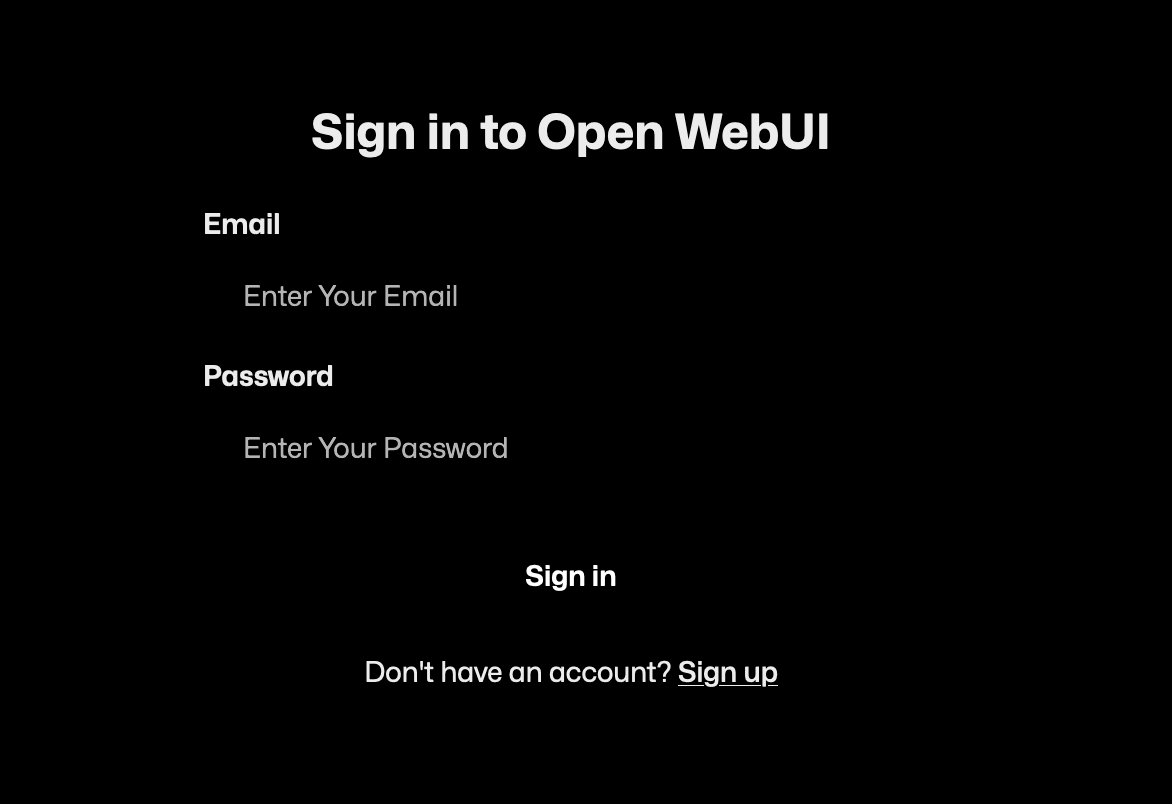
You’ll be greeted to sign in, but since this is your first time, click on the Sign up link. The first user created is the admin.
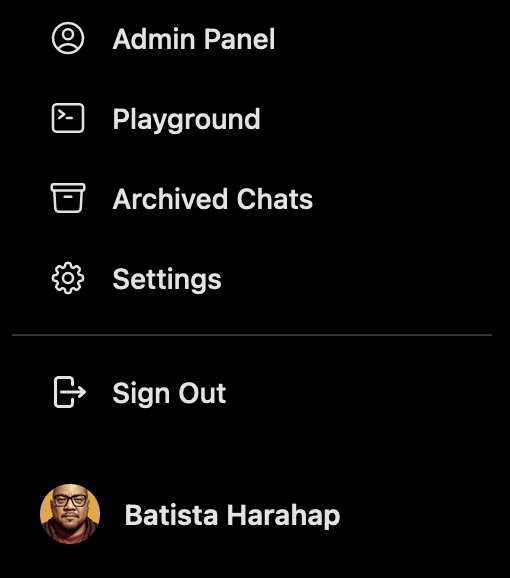
On the bottom left as I screenshot above, click on Settings.
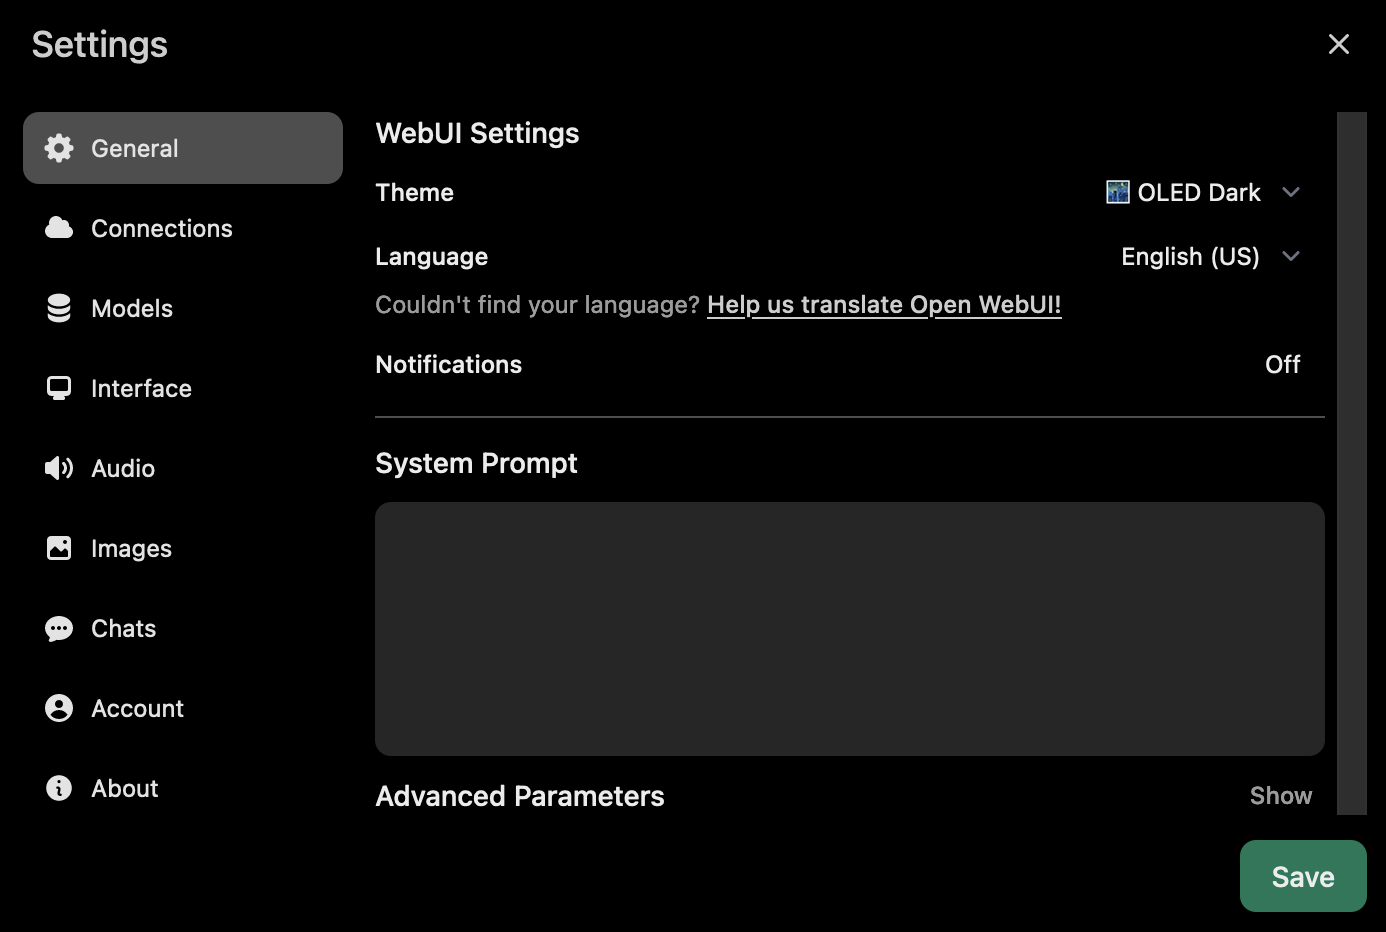
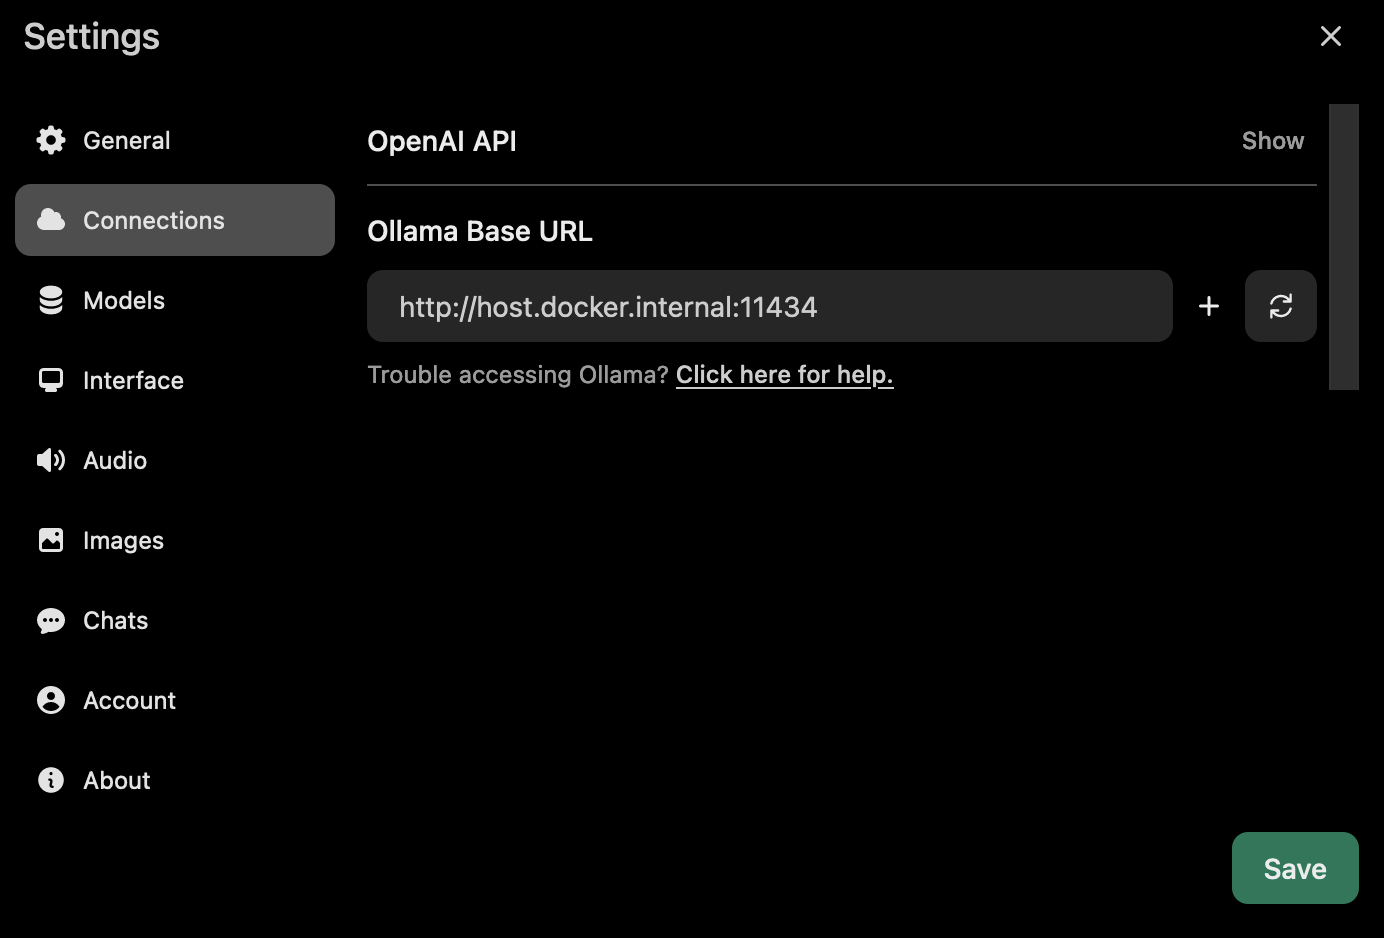
Cool huh? Now, next navigate to Connections
Since I’m setting up Ollama on the host machine, we use http://host.docker.internal:11434 as the URL. If you have Ollama running on another machine, feel free to enter the correct IP/hostname.
Now let’s set up a user for our child. Click on the bottom left again and choose Admin Panel.
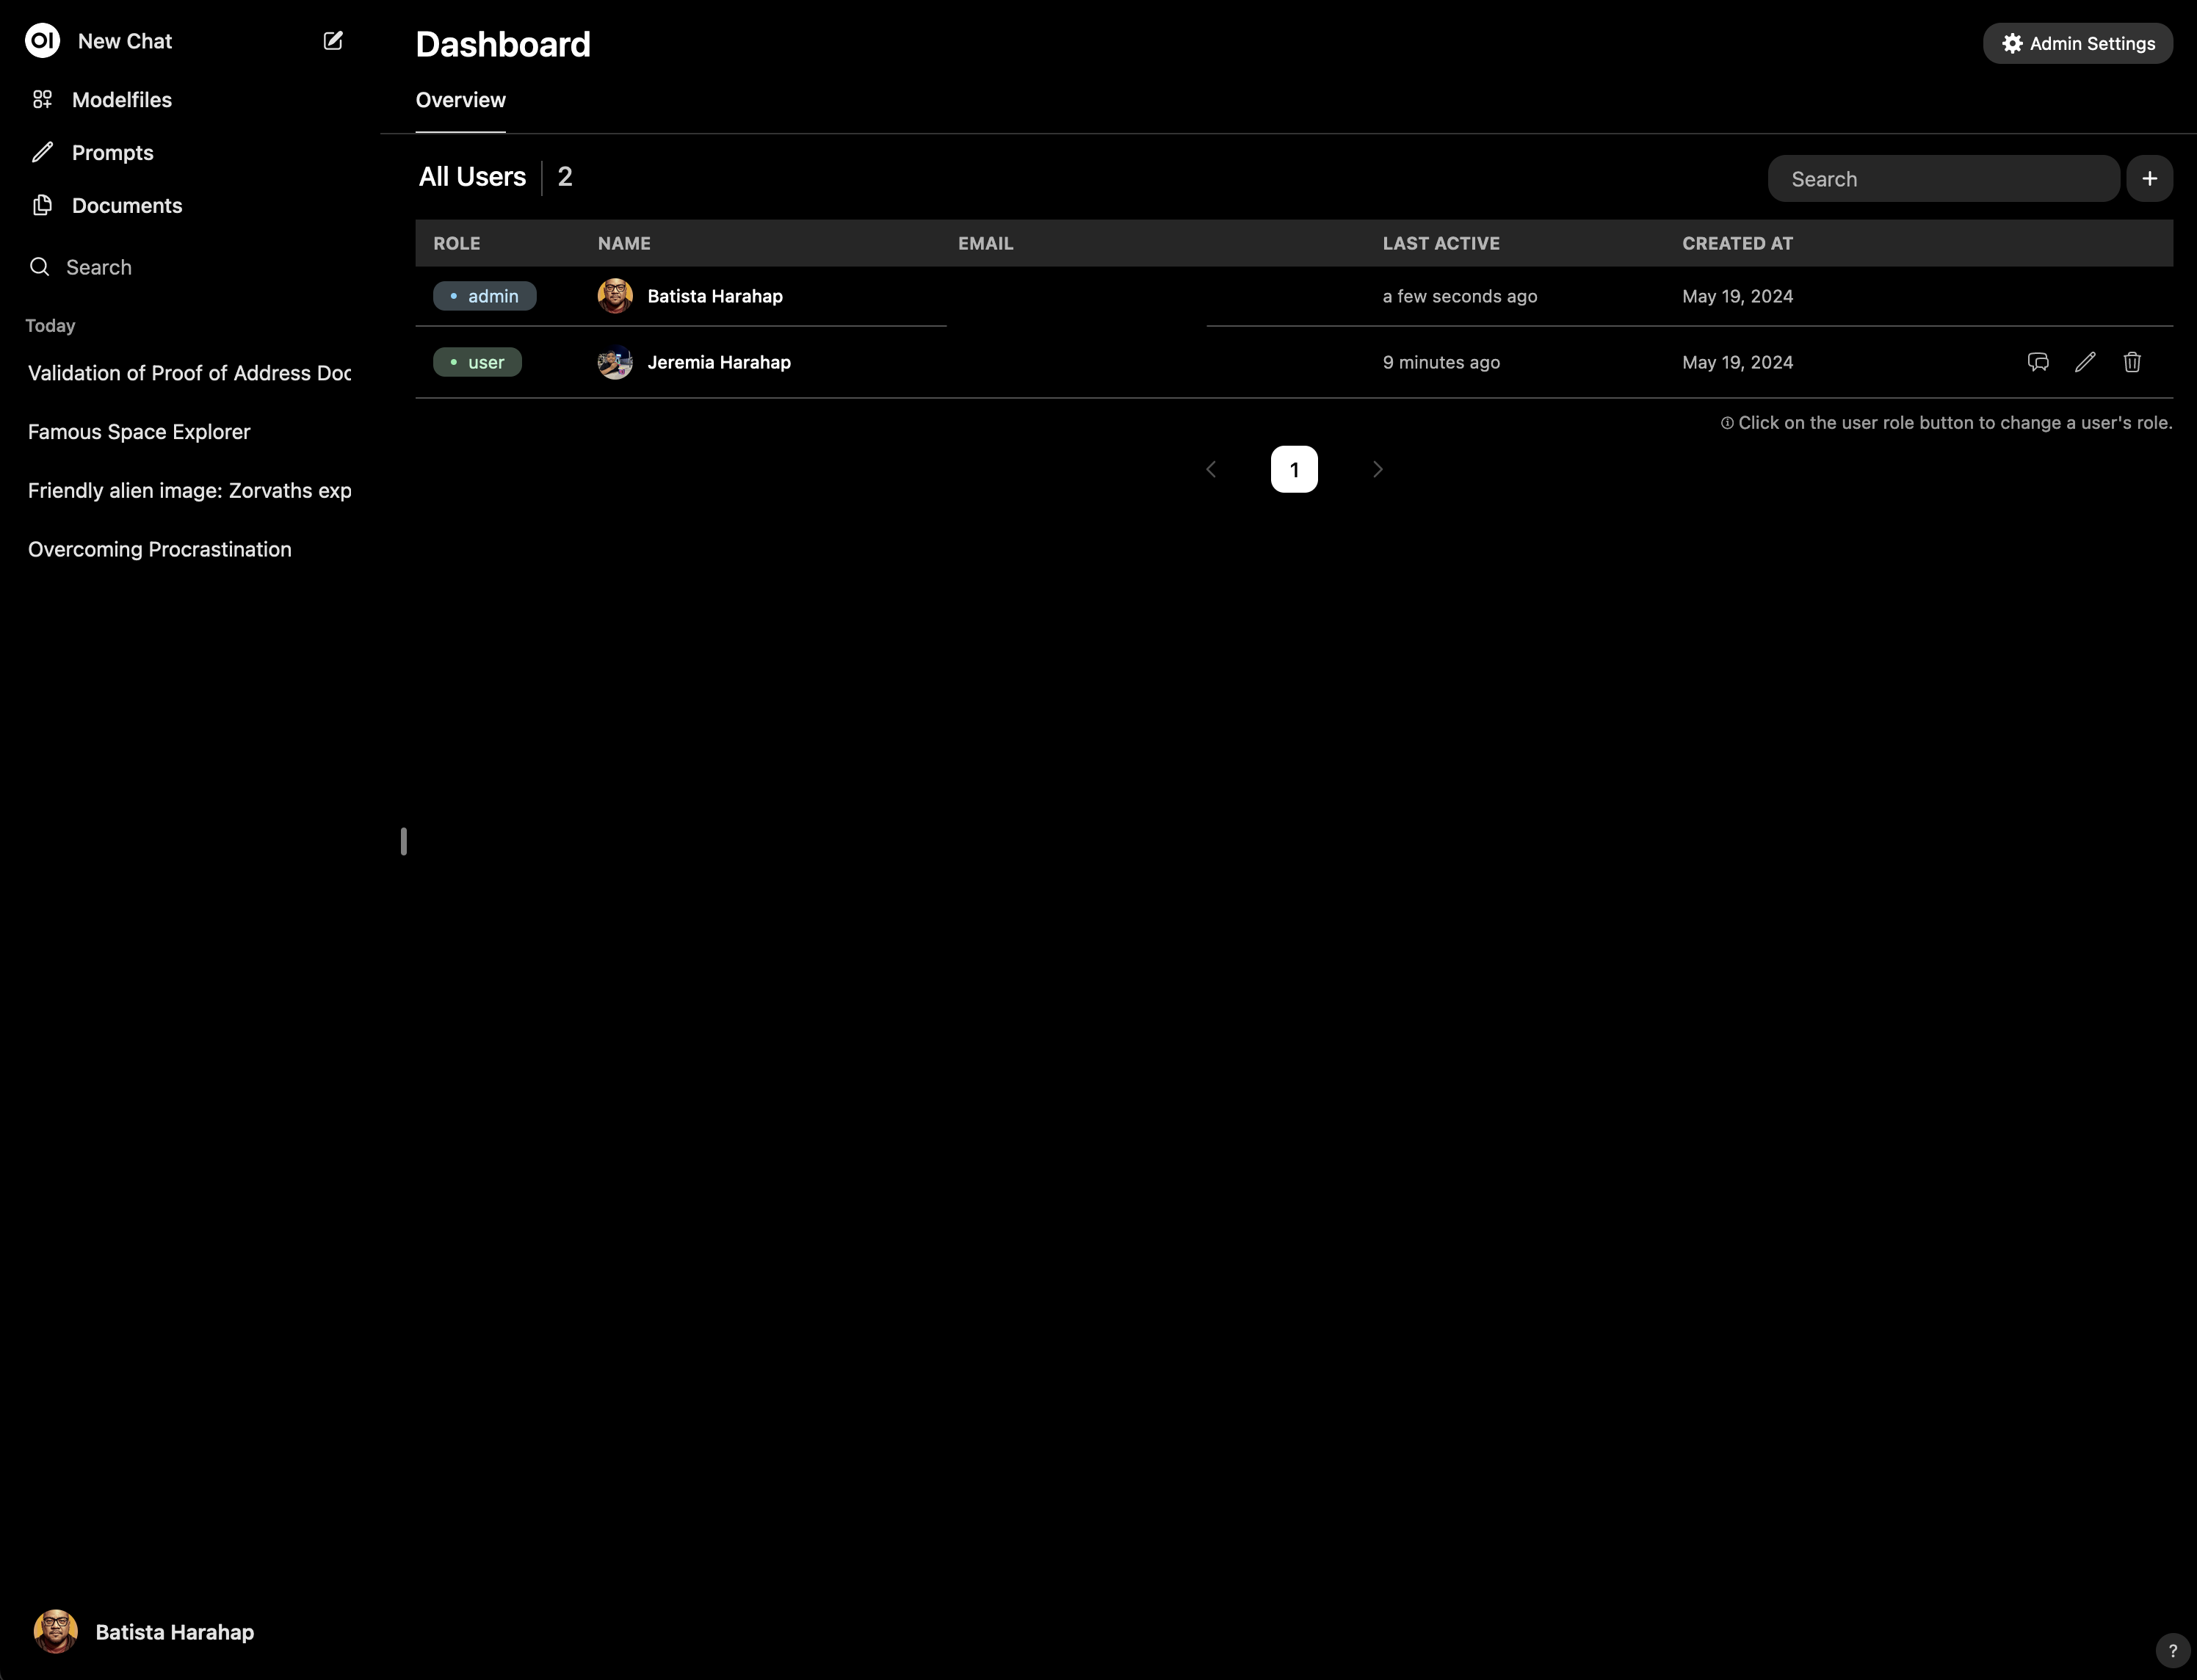
I’ve already set up my son’s user, you can do so now. Now let’s set up a Modelfile for a new assistant for our child. For the record it’s really simple to create new AI personas with Modelfiles, imagine doing this on LM Studio or Llama CPP, it’s too elaborate. A Modelfile works exactly like how Dockerfiles are for docker, it’s portable and can be replicated 1:1 anywhere. For brevity, here’s another link to how a Modelfile works with Ollama.
https://github.com/ollama/ollama/blob/main/docs/modelfile.md
Broto’s Modelfile
I’m using Llama 3 to create Broto, so I’m going to apply parameters applicable for Llama 3.
| |
See how powerful a Modelfile is? There are a few parameters I want to focus on:
temperature- I want Broto to be playful but not too far from the truth. Possible values are between0.0 - 2.0, with lowest being very conservative and more truthful while the highest will unleash creativity. I don’t want Broto to be too creative, I want Broto to above all follow the system prompt to ensure safety.num_ctx- Llama 3 has a context window of 8192 tokens, which means the system prompt + the prompt can only have a maximum of 8192 tokens. By default it will only use 2048 tokens. I want to enable a larger budget for Broto to educate Jeremia.seed- I set this to an arbitrary number with the intention so that Broto will be much more predictable and consistent with his answers.
You can be more creative with the system prompt, I do have more, consider the above just as an example. To set Broto up as an assistant, click on Modelfiles on the top left.

I’ve already created Broto, I think at this point you can follow along and create your own assistant there.
Whitelisting
In order to limit the models my son can interact with, OpenWebUI has a feature called Model Whitelisting.
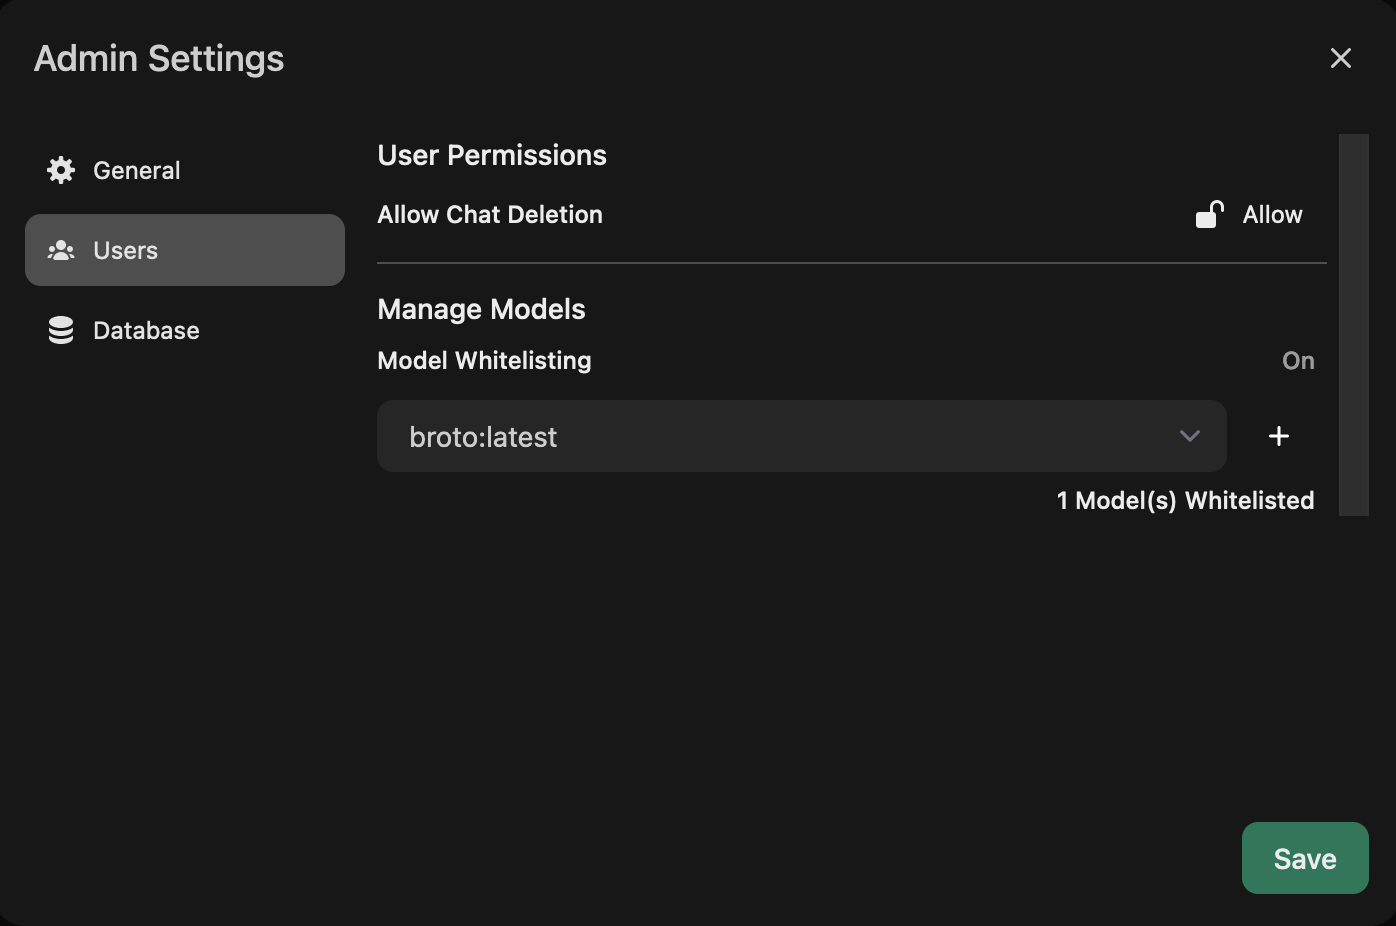
You can go there by clicking on the bottom left and choose Admin Panel then on the next screen on the top right, click on Admin Settings where you’ll find the above.
The whitelisted models are the only models shown for all users except for admin users. Admin users can use all models by default. If you have more than 1 child then you either create a generic Broto for all your children or separate OpenWebUI installations for each. I’d rather make it generic though.
This is cool right?
Convenience for both parents and child. But this is way too technical for normies, there’s no way normies does this all on their computers. This seems to me like an opportunity.